Showing posts with label crafts. Show all posts

Wednesday, November 19, 2014

Sewing Project for Toddler: Fabric Alphabet

I saw this project on All About Learning Press, although I modified it a bit. I used their letter templates, but since I didn't know where to find quilt batting, I just backed the fabric with felt, and I'm pretty happy with the result.

So, first I printed the letters and cut them out. Honestly, this took a few days.
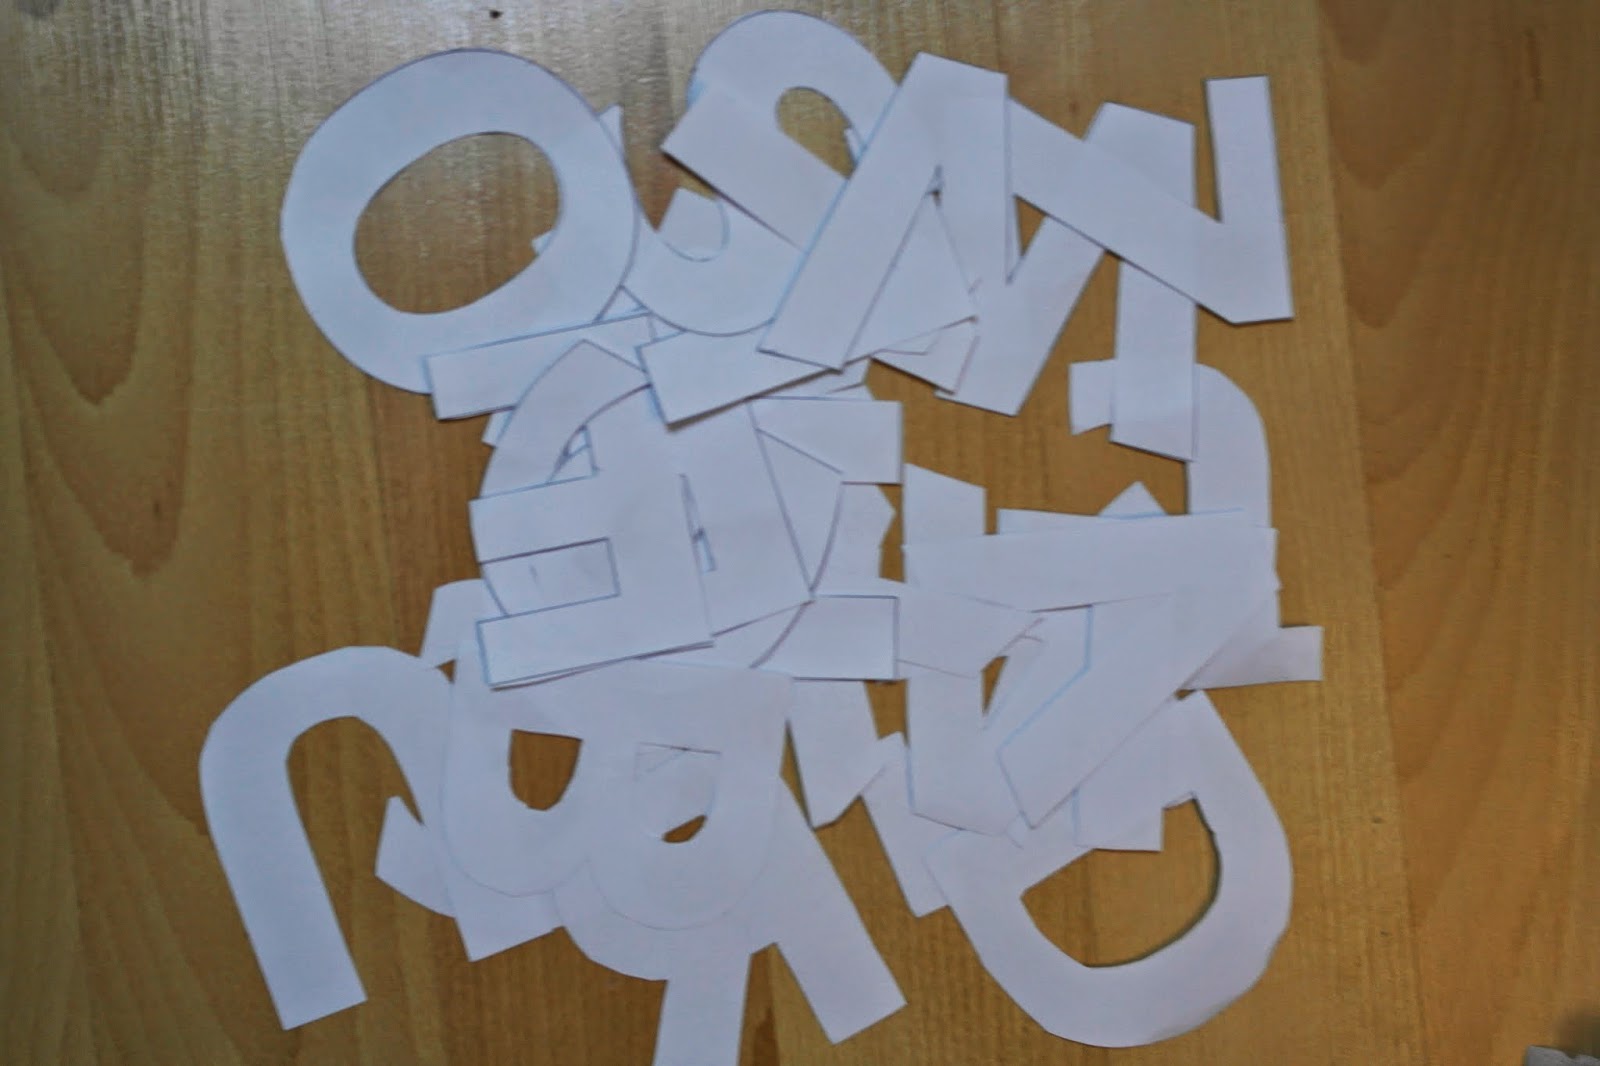

Then, I tried to find fabric scraps that matched the letter sounds. Honestly, this took a few weeks, and I only matched about half the letters to appropriate fabric, but that wasn't a big deal to me.


Next, I traced the letters onto the fabric and pinned them to a 5 inch square of felt. This whole process took a couple of weeks.


Finally, I sewed along the lines of the traced letters, then cut around the shape with my pinking shears, which I'm still extremely excited about.


To be honest, I'm not finished with this final step yet. When I'm all done I'll clean up the pencil marks, either with an eraser or gentle hand wash.

Why is this project taking forever? Because I'm doing it in 15-30 minute increments after work or on weekends, preferably while Moonpie is otherwise engaged, which is, well, never. I'm not in a rush, though, because she IS still only 14 months old.

I think I might try to finish today, though, because yesterday she brought me her animal alphabet book, which I read about 15 times a day and have memorized, turned to the back page where they list the whole alphabet, pointed at "A", and said "A B D E!" She's a genius, I tell you. A genius.


Tuesday, October 7, 2014

DIY Toddler Sleep Sack

This is going to seem a bit contradictory after my previous post about the struggle to keep my baby from becoming a hot, sweaty mess here in Turkey, but believe it or not, this American does try to keep her baby warm in the winter. Moonpie is now 13 months old, wearing size 24 months/2T clothing. She had a size 18 months sleep sack from last winter that I thought I could squeeze her into, but no, it wasn't working out.

So, I went back to the baby stores to find a size 2T sleep sack. The problem is that they don't seem to sell many of them. My hypothesis is that most children wearing size 2T use those handy little things called "blankets" when they sleep. Interestingly, my little Moonpie hates the things. I have tried covering her with a blanket after she falls into a deep sleep, but this child will throw off the blanket even in deep sleep, and usually wake up as well. 

As I was wondering around IKEA (my last stop, and where I get many of my good ideas), I stumbled upon a huge pile of cheapo fleece blankets, and I got an idea. Instead of buying 2 yards of fleece, which would probably also be cheapo quality, why not buy a 6 dollar IKEA blanket and sew my own sleep sack? Yes, why not indeed? So, that's what I did.

Here is the blanket. 


I laid out her old sleep sack and drew new pattern pieces on baking paper. I didn't measure, but made them a generous two inches wider and 8 inches longer than the old sleep sack.


It also didn't occur to me to take pictures until after I was done, so I don't have many process pictures. I basically cut out the pieces leaving a roughly half inch seam allowance, sewed in my zipper, then sewed it all up. 


I added the flower and reinforced the arm holes and neck hole with a baste stitch, then used my new pinking shears (which I am disproportionately excited about) to give the edges a nice finish. No need to hem fleece. I also added a flap over the top of the zipper to keep it out of Moonpie's sight since she's just discovered that she can open zippers. She can also open velcro, but she doesn't know that it's there, so don't tell her, ok?

She likes this sleep sack, and it's nice and big so she can roll all around in bed without getting stuck or cold and waking up, so I figure this 8 dollar project has bought me hours of sleep. Hooray!


Thursday, August 14, 2014

Moonpie’s First Birthday - Ladybugs!


We celebrated Moonpie’s first birthday one month early so my parents could be included. I wrote about her birth story here if you missed it.


I actually used my cupcake stand!
I didn’t know if I wanted a theme, but I found an actual party store in the old town shopping district of Izmir called Kemeraltı. I am convinced that you can find absolutely anything there if you just wander around long enough. They had a selection of 10 or so party themes for kids, so I chose the lady bugs. Then I bought almost every red or ladybug party decoration in the store – plates, cups, napkins, balloons, paper flowers, banners, and even a “1” cookie cutter and red fondant, which I have never used before in my life. That saleswoman was gooooooood, I’m telling you. Good. And it all cost about 20 bucks, so I felt it was worth it compared to the time I would spend trying to make my own decorations.

So my idea was to make carrot cake cupcakes, because carrots are a vegetable and I wouldn’t feel as bad giving that to Moonpie, and cupcakes are easier to make cute than a whole cake. I used the recipe from my Betty Crocker cookbook, my mom brought a cute Ladybug Cupcake Decorating Kit from America, and we were set.


Flour-dusted fondant
The fondant turned out way better than I expected. I used this recipe from Miss Marzipan for the sugar cookies. They were really, really, really good. The only flaw was that I got flour on the top of the fondant. I wasn’t sure how to roll it out otherwise, and the flour got all in the fondant, so I brushed them with water, then they were all moist. But, nobody cared about that. I had seen a ladybug stamp in a Playdough set that would have been a cute addition, but I couldn’t justify spending 9 dollars on the whole set just for the one stamp, so I passed that up in honor of my goal of decluttering.


My mom also brought a cute ladybug dress, but Moonpie doesn’t like dresses at the moment as they cramp her crawling style, so after some pictures I changed her into a red shirt and white shorts.


Happy Birthday Moonpie!
My in-laws, including SIL’s fiancé came over, so we were a party of 8 adults and the birthday girl. Just the perfect size. She got tons of cute gifts that people sent from America (thank you!), just the perfect mix of clothes and books and toys.

Moonpie liked her cupcake, but was extremely cool about it, as she is about most things. She was like, “Yeah, it’s alright. I guess I like sugar.” She ate about half.

Still playing with her new loot in her pjs.
For dinner we ordered in "pide", which is like pizza, I guess. I know I could have hand made the decorations and cooked a fabulous meal for everyone, but I was just plain tired, and I didn’t want to waste hours that could be spent with my parents stressing out in the kitchen. (If you can't tell I feel bad about not totally homemakering it up for Moonpie's birthday, because usually I would be all over that. Just the timing, I guess. And I have to keep telling myself that Moonpie really doesn't care at all, so why do I?)

The best part was that Moonpie enjoyed the party. I had read that first birthday parties can go downhill fast when the kids start melting down, but Moonpie actually didn’t have any meltdowns! That’s my girl! She seemed to really enjoy all of the attention and new toys, and was playing happily even though she stayed up past her bedtime (you may gasp here)!

How do you (or did you) celebrate your kids’ birthdays? Do you go for homemade or store bought? Large or small (or none)?


Wednesday, June 25, 2014

Baby Moonpie's Father's Day Gift

Look at this foot. Isn't it just the cutest? 


I asked Moonpie what she wanted to get her daddy for Father's Day, but since she didn't have enough money saved up for a sports car, we decided to go with a homemade craft. For Mr. Stitches's Father's Day gift I decided to capture Moonpie's foot and hand prints. 

(I tried to take pictures of each step, but taking pictures while trying to prevent paint from covering our entire house proved easier in theory than practice. At least it's washable!)

Here is Moonpie showing (trying to eat) the paints. 


Step one: smear finger paint all over baby's hand and ask yourself "Why did I think this was a good idea?"

This was the best picture of her feet I could get. 

Finished product!

I added "Happy Father's Day" and her name and the date and put it in a frame.